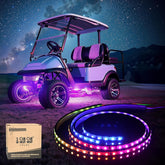
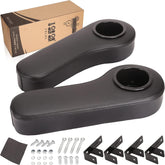
DIY Guide for Installing 10L0L Golf Cart Headlights

Introduction: 10L0L is a well-known brand for golf cart accessories, offering high-quality products including golf cart headlights. This DIY guide will walk you through the steps to install 10L0L golf cart headlights, enhancing both the appearance and functionality of your golf cart.
Materials Needed:
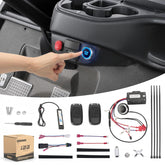
- 10L0L Golf Cart Headlight Kit: Choose a kit suitable for your golf cart model and preferences.
- Toolset: Screwdriver, wrenches, insulation tape, and other basic tools.
- Wiring and Connectors: Ensure the wiring is long enough to reach your golf cart's power source.
Step 1: Select the Right 10L0L Headlight Kit Visit the official 10L0L website or an authorized dealer to select a headlight kit that suits your golf cart model. 10L0L offers various styles and features, such as high and low beams, flashing modes, etc. Choose based on your requirements.
Step 2: Disconnect the Golf Cart Battery Always disconnect the golf cart battery before starting any installation process to prevent electrical accidents.
Step 3: Remove Existing Lights (if applicable) If your golf cart has existing lights, remove them to make space for the new 1

Step 4: Install the New 10L0L Headlight Kit
- Using a screwdriver and wrench, follow the installation instructions provided with the 10L0L headlight kit to mount it onto the front of your golf cart. Make sure to follow the instructions carefully.
- Secure the headlight kit firmly to the golf cart using the screws provided, ensuring it won't loosen during operation.
Step 5: Connect the Wiring
- Guide the wiring from the 10L0L headlight kit to the power source area of the golf cart. Ensure the wiring doesn't interfere with your driving.
- Use insulation tape and cable ties to secure the wiring, preventing any movement or damage.
Step 6: Connect to the Power Source
- Locate the power interface of the golf cart's battery.
- Using the appropriate connectors, connect the wiring from the 10L0L headlight kit to the positive and negative terminals of the golf cart battery. Ensure the connection is secure and there's no risk of a short circuit.
Step 7: Test the Headlights After completing the installation, reconnect the golf cart battery and test the 10L0L headlight kit to ensure it's functioning correctly. Make sure all lighting modes work properly and the brightness is adequate.
Step 8: Adjust and Secure If necessary, adjust the angle of the headlights to ensure optimal illumination. Once adjusted, tighten all screws and fasteners once again.
Conclusion: By following these steps, you can successfully install 10L0L golf cart headlights, improving both the aesthetics and night-time visibility of your golf cart. During the process, prioritize safety and adhere to installation instructions. If needed, seek professional assistance for a seamless DIY experience.

